
honeywell pro 8000 installation manual
Welcome to the Honeywell Pro 8000 Installation Manual‚ your comprehensive guide to successfully installing and configuring the VisionPRO 8000 thermostat. This manual provides detailed instructions for proper installation‚ system compatibility‚ wiring‚ and setup to ensure optimal performance. Follow the step-by-step process to achieve a seamless and efficient setup.
Overview of the Honeywell Pro 8000 Thermostat
The Honeywell Pro 8000 is a high-efficiency touchscreen thermostat designed for precise temperature control. It features a user-friendly interface‚ programmable settings‚ and compatibility with various HVAC systems. With advanced options like RedLINK technology‚ it ensures reliable performance and energy savings. Ideal for both residential and commercial use‚ it offers flexibility and customization to meet diverse heating and cooling needs.
Importance of Proper Installation
Proper installation of the Honeywell Pro 8000 thermostat is crucial for ensuring optimal performance‚ safety‚ and efficiency. Incorrect wiring or setup can lead to system malfunctions‚ reduced energy savings‚ or even electrical hazards. Following the manual’s guidelines ensures compatibility with your HVAC system‚ accurate temperature control‚ and long-term reliability‚ avoiding costly repairs and maintaining warranty validity.
System Requirements and Compatibility
The Honeywell Pro 8000 is compatible with most HVAC systems‚ requiring a C wire for non-RedLINK setups‚ and supports up to 3 heating and cooling stages.
Compatibility with HVAC Systems
The Honeywell Pro 8000 thermostat is designed to work with a wide range of HVAC systems‚ including forced air‚ heat pumps‚ and radiant floor systems. It supports up to three stages of heating and two stages of cooling‚ making it versatile for various home configurations. Compatibility extends to both conventional and RedLINK-enabled systems‚ ensuring reliable performance across different setups.
Necessary Tools and Materials for Installation
To install the Honeywell Pro 8000 thermostat‚ you’ll need a screwdriver‚ wire strippers‚ and a voltage tester. Ensure you have a C wire for systems without a RedLINK module. Additional materials include wall anchors‚ screws‚ and a drill for mounting. These tools and materials ensure a safe and proper installation‚ preventing electrical hazards and ensuring optimal thermostat performance.
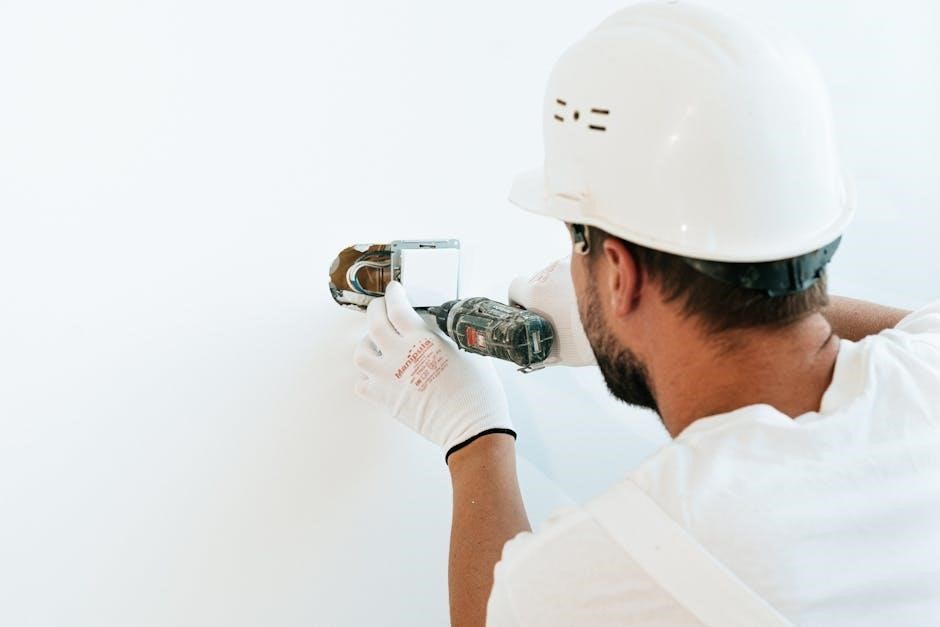
Installation Process
The installation process involves removing the old thermostat‚ mounting the wallplate‚ and wiring the new Honeywell Pro 8000 thermostat. Follow step-by-step instructions for a secure setup.
Step-by-Step Guide to Removing the Old Thermostat
Turn off power to the HVAC system at the circuit breaker. Verify the system is off.
Remove screws holding the old thermostat cover. Gently pull the thermostat away from the wall.
Label wires according to their terminals (R‚ W‚ Y‚ G‚ C).
Disconnect wires from the old thermostat. Remove any remaining adhesive or screws from the wallplate.
Proceed with mounting the new Honeywell Pro 8000 thermostat.
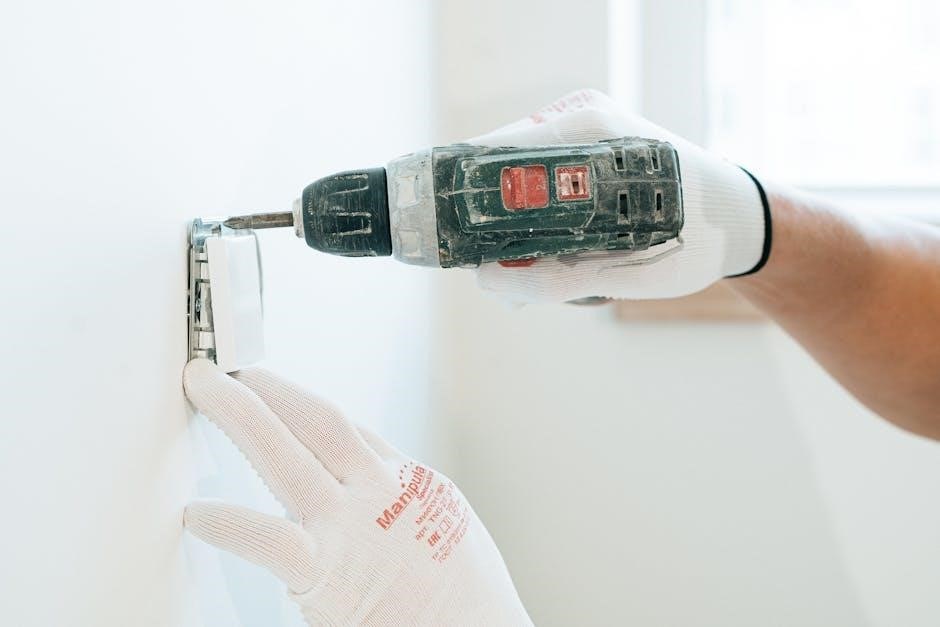
Mounting the Wallplate
Separate the wallplate from the thermostat by gently pulling it away.
Mark the wall for drilling based on the wallplate’s screw holes.
Drill 7/32″ holes for plaster or drywall. Insert wall anchors if necessary.
Mount the wallplate using provided screws‚ ensuring it is level and secure.
Verify proper alignment before proceeding to wire connections.
Wiring and Connecting the Thermostat
Turn off power to the HVAC system at the circuit breaker.
Connect wires to the appropriate terminals on the wallplate‚ matching the labels (e.g.‚ R‚ W‚ Y‚ G‚ C).
Ensure the C wire is connected if required for RedLINK functionality.
Carefully insert the thermostat onto the wallplate‚ securing it firmly.
Verify all connections are tight and correct before restoring power.
Final Installation and Setup
Restore power to the HVAC system and thermostat.
Run the Installer Test to ensure proper functionality.
Verify heating‚ cooling‚ and fan operations.
Set the system type and configuration in Installer Options.
Complete the initial setup‚ including date‚ time‚ and temperature preferences.
Ensure the thermostat is securely mounted and all connections are verified.
Configuring Settings
Configure basic settings like time‚ temperature‚ and scheduling. Access advanced options for customization‚ such as heating/cooling thresholds and energy-saving modes. Set Installer Options and passwords for secure system management.
Basic Settings (Time‚ Temperature‚ etc.)
Set the time‚ date‚ and temperature preferences using the touchscreen display. Configure heating and cooling schedules to optimize energy use. Adjust temperature ranges for comfort and efficiency. Use the Honeywell Home app to remotely manage these settings. Ensure all basic configurations align with your HVAC system requirements for proper operation. Refer to the manual for detailed guidance on customizing these settings effectively.
Advanced Settings for Customization
Explore advanced settings for tailored comfort and efficiency. Adjust temperature hold times‚ remote sensor integration‚ and custom scheduling. Enable geofencing to optimize energy use based on location. Access installer options for system-specific configurations‚ such as fan operation and humidifier control. Set a password for installer options to secure advanced features. Use the Honeywell Home app for remote adjustments and personalized system tuning‚ ensuring your setup meets your unique needs and preferences effectively.
Installer Options and Password Setup
Access installer options through the menu to configure system-specific settings. Set a password‚ typically the product’s date code‚ to secure advanced features. This ensures only authorized personnel can modify configurations. Password protection prevents unintended changes‚ maintaining system integrity and optimal performance. Refer to the manual for detailed steps on navigating and securing these options effectively.
Connecting to Wi-Fi
Link your Honeywell Pro 8000 thermostat to your Wi-Fi network for smart home integration. Use the Honeywell Home app to guide the connection process‚ ensuring a stable link for remote control and updates. Follow on-screen prompts to select your network and enter the password for a seamless setup experience.
Linking the Thermostat to Your Network
To connect your Honeywell Pro 8000 thermostat to your network‚ navigate to the Wi-Fi setup menu. Select your network from the available options and enter the password. Ensure the thermostat is in pairing mode and follow the on-screen instructions. Once connected‚ use the Honeywell Home app to verify the link and enable remote access. A stable internet connection is essential for optimal functionality.
Using the Honeywell Home App
The Honeywell Home app allows remote control of your Pro 8000 thermostat. Download and install the app‚ then create an account or log in. Link your thermostat to the app by following the in-app instructions. Use the app to adjust settings‚ schedule temperatures‚ and monitor energy usage. Ensure your thermostat is connected to Wi-Fi for seamless app functionality and remote access.
Troubleshooting Wi-Fi Connectivity Issues
If your Honeywell Pro 8000 thermostat fails to connect to Wi-Fi‚ restart the device and ensure your network is operational. Check the Wi-Fi password and network name for accuracy. Reset the thermostat’s settings to factory defaults if necessary. Verify that the thermostat is within range of your router. Ensure the Honeywell Home app is updated to the latest version for proper connectivity.
Testing the System
After installation‚ run the installer test to verify proper functionality. Ensure all systems operate as expected‚ including heating‚ cooling‚ and Wi-Fi connectivity‚ before finalizing the setup.
Running the Installer Test
After completing the installation‚ run the installer test to ensure all systems function correctly. Access the test via the menu‚ select Installer Test‚ and follow on-screen prompts. This process verifies heating‚ cooling‚ and Wi-Fi connectivity. Ensure proper operation before finalizing setup. Address any issues promptly to guarantee optimal performance and a reliable connection.
Verifying System Operation
After installation‚ verify the system operation by checking basic functions like heating‚ cooling‚ and temperature adjustments. Ensure the thermostat responds correctly to input and maintains the set temperature. Test Wi-Fi connectivity to confirm remote access via the Honeywell Home app. Review the manual for troubleshooting tips if any issues arise during verification.

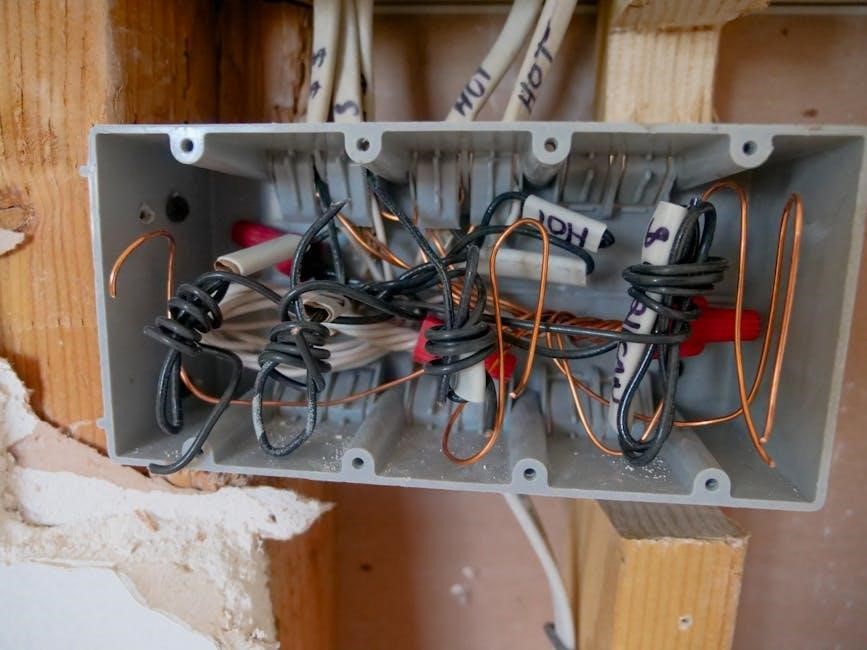
Wiring Diagrams and Terminal Identifications
Refer to the wiring diagrams and terminal labels in this manual for precise connections. Match system-specific configurations to ensure safe and correct installation of the Honeywell Pro 8000 thermostat.
Understanding Terminal Labels
Terminal labels on the Honeywell Pro 8000 thermostat are essential for correct wiring. Common labels include R (24V power)‚ W (heating)‚ Y (cooling)‚ and C (common). Refer to the wiring diagrams for specific system configurations. Proper terminal identification ensures safe and reliable connections‚ preventing electrical hazards. Match labels carefully to your HVAC system’s requirements for accurate installation and optimal performance.
Reference Wiring Diagrams for Different Systems
Consult the wiring diagrams for specific system configurations‚ such as standard heat/cool‚ heat pumps‚ or zone control systems. Diagrams detail wire connections for 2-wire‚ 4-wire‚ and 5-wire setups. These references ensure compatibility with your HVAC system and prevent wiring errors. Use the provided charts to match terminal labels with your system type for accurate installation and reliable operation.
Maintenance and Upkeep
Regularly clean the thermostat and check for software updates to ensure optimal performance. Perform routine inspections of wiring and connections to prevent malfunctions and extend system longevity.
Cleaning and Maintaining the Thermostat
Regularly clean the Honeywell Pro 8000 thermostat with a soft‚ dry cloth to remove dust and debris. Avoid harsh chemicals or liquids‚ as they may damage the screen or internal components. Check for software updates periodically to ensure optimal performance. Inspect wiring connections to prevent loose links and maintain system efficiency. Schedule routine maintenance to extend the product’s lifespan and ensure reliable operation.
Updating Software and Firmware
Regular software and firmware updates ensure your Honeywell Pro 8000 thermostat operates at peak performance. To update‚ navigate to the menu‚ select “Installer Options‚” and choose “Software Update.” Follow on-screen instructions to download and install the latest version. A stable internet connection is required. Never interrupt the update process to avoid system malfunctions. Visit the Honeywell Home app or website for additional guidance and support.
Safety Precautions
Always disconnect power before installation to prevent electrical shock; Wear protective gear and follow manual guidelines to ensure safe handling of the Honeywell Pro 8000 thermostat.
Electrical Safety Guidelines
Always disconnect power before installation to prevent electrical shock. Avoid exposing the thermostat to water or direct sunlight. Ensure proper grounding and follow all safety precautions when handling electrical components. Never touch internal parts without proper insulation. Use appropriate tools and adhere to manufacturer guidelines to prevent damage or risk of injury during installation.
Handling Precautions
Handle the Honeywell Pro 8000 thermostat with care to avoid damage. Avoid bending‚ twisting‚ or applying excessive force. Keep the device away from direct sunlight and moisture. Use the original packaging for storage to prevent scratches. Ensure the wallplate is securely mounted to prevent the thermostat from shifting. Follow all safety guidelines to maintain functionality and ensure a safe installation process.
Troubleshooting Common Issues
Identify and resolve issues promptly to ensure optimal performance. Check power supply‚ wiring connections‚ and system compatibility. Refer to diagnostic codes and user manual for solutions.
Resolving Display Issues
If the display is blank‚ unresponsive‚ or showing incorrect info‚ restart the thermostat by turning power off and on. Check wiring connections for loose or damaged wires. Ensure the thermostat is properly mounted and calibrated. If issues persist‚ reset the device to factory settings or contact Honeywell support for further assistance.
Addressing Wi-Fi Connection Problems
If the Honeywell Pro 8000 thermostat fails to connect to Wi-Fi‚ ensure the network name and password are correct. Restart the router and thermostat. Check for firmware updates and install the latest version. Verify the thermostat is within the router’s range. Use the Honeywell Home app to troubleshoot connectivity issues or reset the Wi-Fi settings in the installer menu.
Fixing System Malfunctions
If the Honeywell Pro 8000 thermostat malfunctions‚ check the power supply and wiring connections. Ensure the system is properly configured in the installer settings. Restart the thermostat and HVAC system. Run the Installer Test to identify issues. Verify terminal connections and update firmware if necessary. Consult the manual or contact support for advanced troubleshooting and resolution of persistent system errors.
Thank you for following the Honeywell Pro 8000 Installation Manual. For further assistance‚ visit honeywell.com or contact customer support at 1-800-468-1502 for residential inquiries.
Final Check and System Verification
After installation‚ power up the system and verify the thermostat display lights up. Test heating and cooling functions to ensure proper operation. Run the Installer Test to check all system components. Confirm Wi-Fi connectivity and app functionality. Review all settings for accuracy. Ensure no error codes are displayed. If issues arise‚ refer to the troubleshooting section or contact Honeywell support.
Where to Find Additional Support
For further assistance‚ visit honeywell.com/support or contact Honeywell’s customer service at 1-800-468-1502. Refer to the Honeywell Home app for resources. Download the VisionPRO 8000 Installation Manual from their official website. Check local retailers for workshops or professional help. Utilize online forums and Honeywell’s troubleshooting guides for quick solutions. Ensure all support channels are genuine to avoid unauthorized assistance.